You can save already scanned data again to your desired cloud service using the following procedure.
[Reason for Saving to an Incorrect Cloud Service]
ScanSnap automatically identifies document types as “Documents,” “Business Cards,” “Receipts,” or “Photos” based on the document's “size” and “content.” You can set the desired cloud service for each document type.
Depending on these settings, when scanning, the document may be classified as a different type and saved to a cloud service other than the one you set.
Example: If you scan a receipt larger than the standard receipt size, ScanSnap Home will classify it as a "Document" and save it to the cloud service set for "Documents.”
For details about standard receipt sizes, see Information on my receipt is not extracted properly. Incorrect values appear at [Receipt information].
[Important]
Transferring data to a different cloud service using the [Procedure] below will not delete the data from the original cloud service.
If deletion is necessary, delete the data directly from the cloud service where the data is stored.
Procedure
Select your device below to view detailed instructions.
PC version of ScanSnap Home
1. Start ScanSnap Home  on your computer.
For start instructions, see How can I start ScanSnap Home.
2. Click the  icon.
icon.
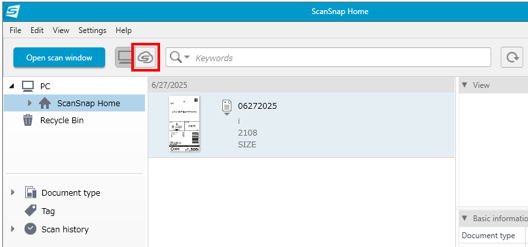
3. Right-click the target data and select “Change document type” from the menu that appears.
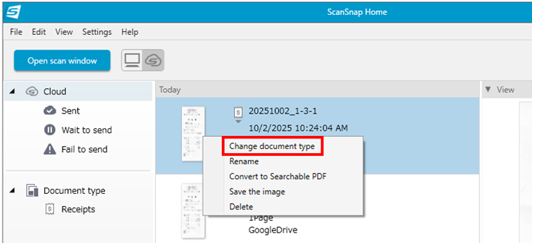
4. Select the target document type and click the [Change] button.
“Receipts” is used as an example.
5. Confirm that the data is saved to the cloud service configured for the selected document type.
[Supplementary Information]
To prevent data from being saved to a different cloud service than the one set during future scans, configure the settings so that data is saved to the same cloud service for all documents without distinguishing the “document type.” For the configuration method, see Scanned images are uploaded to a different cloud service.
For models with a touch panel, see How can I link ScanSnap Cloud to Evernote using ScanSnap Home?.
Mobile version of ScanSnap Home
1. Start ScanSnap Home .
2. Tap the  icon.
icon.

3. With the  selected, tap the target data.
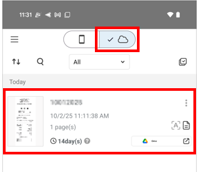
4. Tap the  icon again.
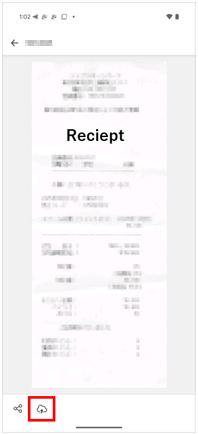
5. Tap the target document type.
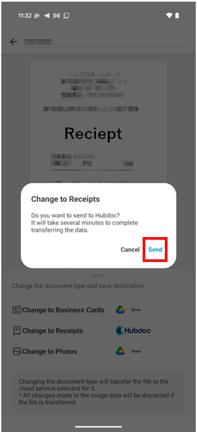
“Change to Receipts” is used as an example.
6. Tap “Send”.
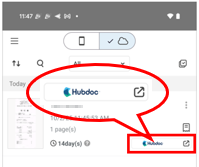
7. Confirm that the data is saved to the cloud service configured for the selected document type.
[Supplementary Information]
To prevent data from being saved to a cloud service different from the one set during future scans, configure the device so that data is saved to the same cloud service for all documents without distinguishing the “document type.” For configuration instructions, see Scanned images are uploaded to a different cloud service.
For models equipped with a touch panel, you can create a cloud profile with a fixed document type. See How can I link ScanSnap Cloud to Evernote using ScanSnap Home? as an example for an Evernote link